What Equipment Do I Need To Teach Yoga Online?
Find out what equipment you need to up your yoga online teaching game - from microphones to cameras to lighting
Werbung*
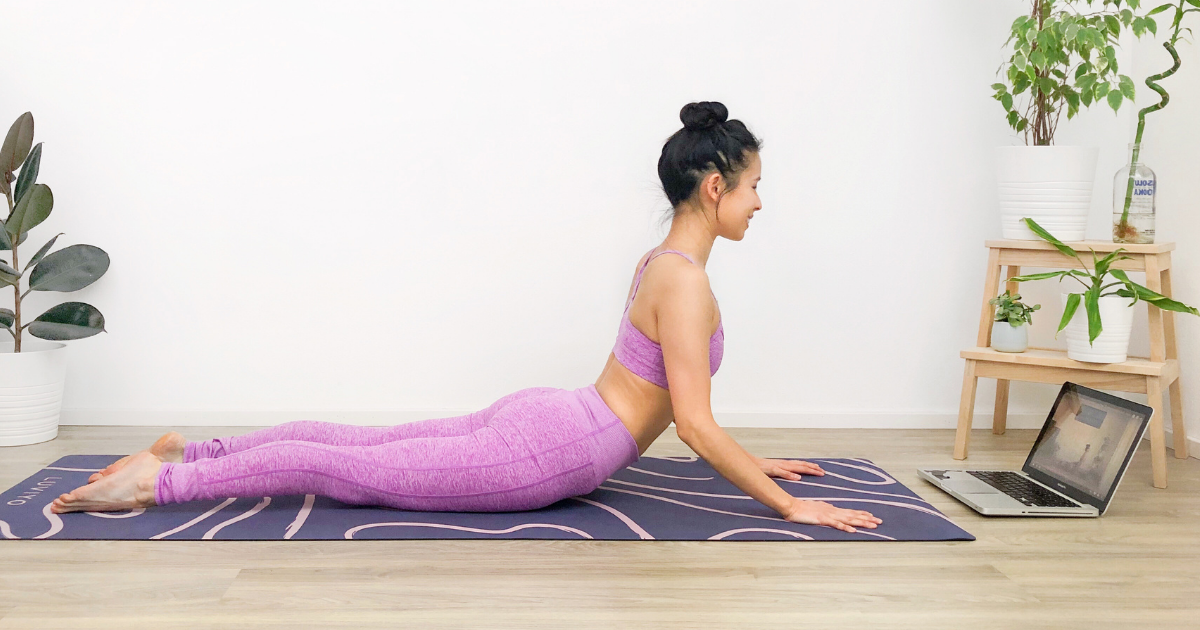
Many yoga teachers made the jump to teach yoga online when the pandemic hit. Now one year down the line, it looks like this new way of practising yoga is here to stay in some form or another. Here's how to up your online teaching game with 4 pieces of tech gear to provide a better experience for your students (and you). You do not have to be "techy” to use the equipment below. Many of the items listed are very easy to set up and use. So don't be afraid! Just give it a go and you'll be a pro in no time.
All products mentioned in this article are my personal recommendations based on what I have tried. None of the links are affiliate links.
WHAT MICROPHONE DO I NEED TO TEACH YOGA ONLINE?
If you invest in any one thing for teaching yoga online, make it a microphone. Your voice is the main thing guiding your students through the class, and they need to be able to hear you clearly much more than they need to see you.
There are a few different options with microphones and it all depends on how much you are willing to invest. For the best experience, I would try not to use the built-in microphone on your computer or smartphone. Your voice will sound far away, you will have to speak louder and "shout” across the room so that you can be heard, and they pick up a lot of background noise as well.
The Microphone
For both live and recorded yoga classes, my favourite microphone to use is the Rode Wireless Go. It's small, it's fairly discreet and the audio quality is a hundred times better than your computer or smartphone microphone. It comes in black or white and the transmitter clips onto your top while the receiver plugs into your device.
You can use it directly like this, or for even better audio quality, you can connect another microphone to it, like a lavalier or headset microphone. Lav mics are pretty cheap and provide great audio quality, but you will have the cable to hide, and the sound can be a little inconsistent depending on if you have your chin tucked towards the microphone or if you have turned the opposite direction.
I also use the Rode HS2 headset microphone plugged into my Rode Wireless Go in some of my recorded classes. This provides the best and most consistent audio quality as the microphone is always the same distance from your mouth no matter what pose you are in. But be aware, a good quality headset mic is the most expensive option! And you should treat them with care as the cable is very fragile.
Another option, and something you might already own, are bluetooth earbuds, like the Apple AirPods. The quality is decent and there are no cables to deal with. However this can sometimes sound a bit tinny, so it depends on what level of audio quality you are after. The Apple AirPods or any bluetooth earbuds also do not work as a microphone when you are using the in-built iPhone camera app to record a video or when going live on Instagram, so you will need either an app like MoviePro that allows you to select a bluetooth microphone to record a video, or use a microphone that connects via the lightning port.
Here are some examples of videos I have recorded with all three options so you can see a direct comparison:
Recorded using Rode Wireless Go and HS2 headset mic.
Recorded using the Rode Wireless Go.
Recorded using the Apple AirPods Pro.
The Setup
The Rode Wireless Go is super easy to setup. You simply clip the transmitter to your top, plug the receiver into your device, turn it on and you're good to go! If you are using a smartphone, you will also need the SC7 cable. And if you have an iPhone, you will also need the Apple Lightning 3.5mm adaptor.
For the Rode HS2 headset mic, the setup is the same except I connect the headset mic to the Wireless Go, which I then clip to the top of my leggings. I hide the cable in the waistband of my leggings.
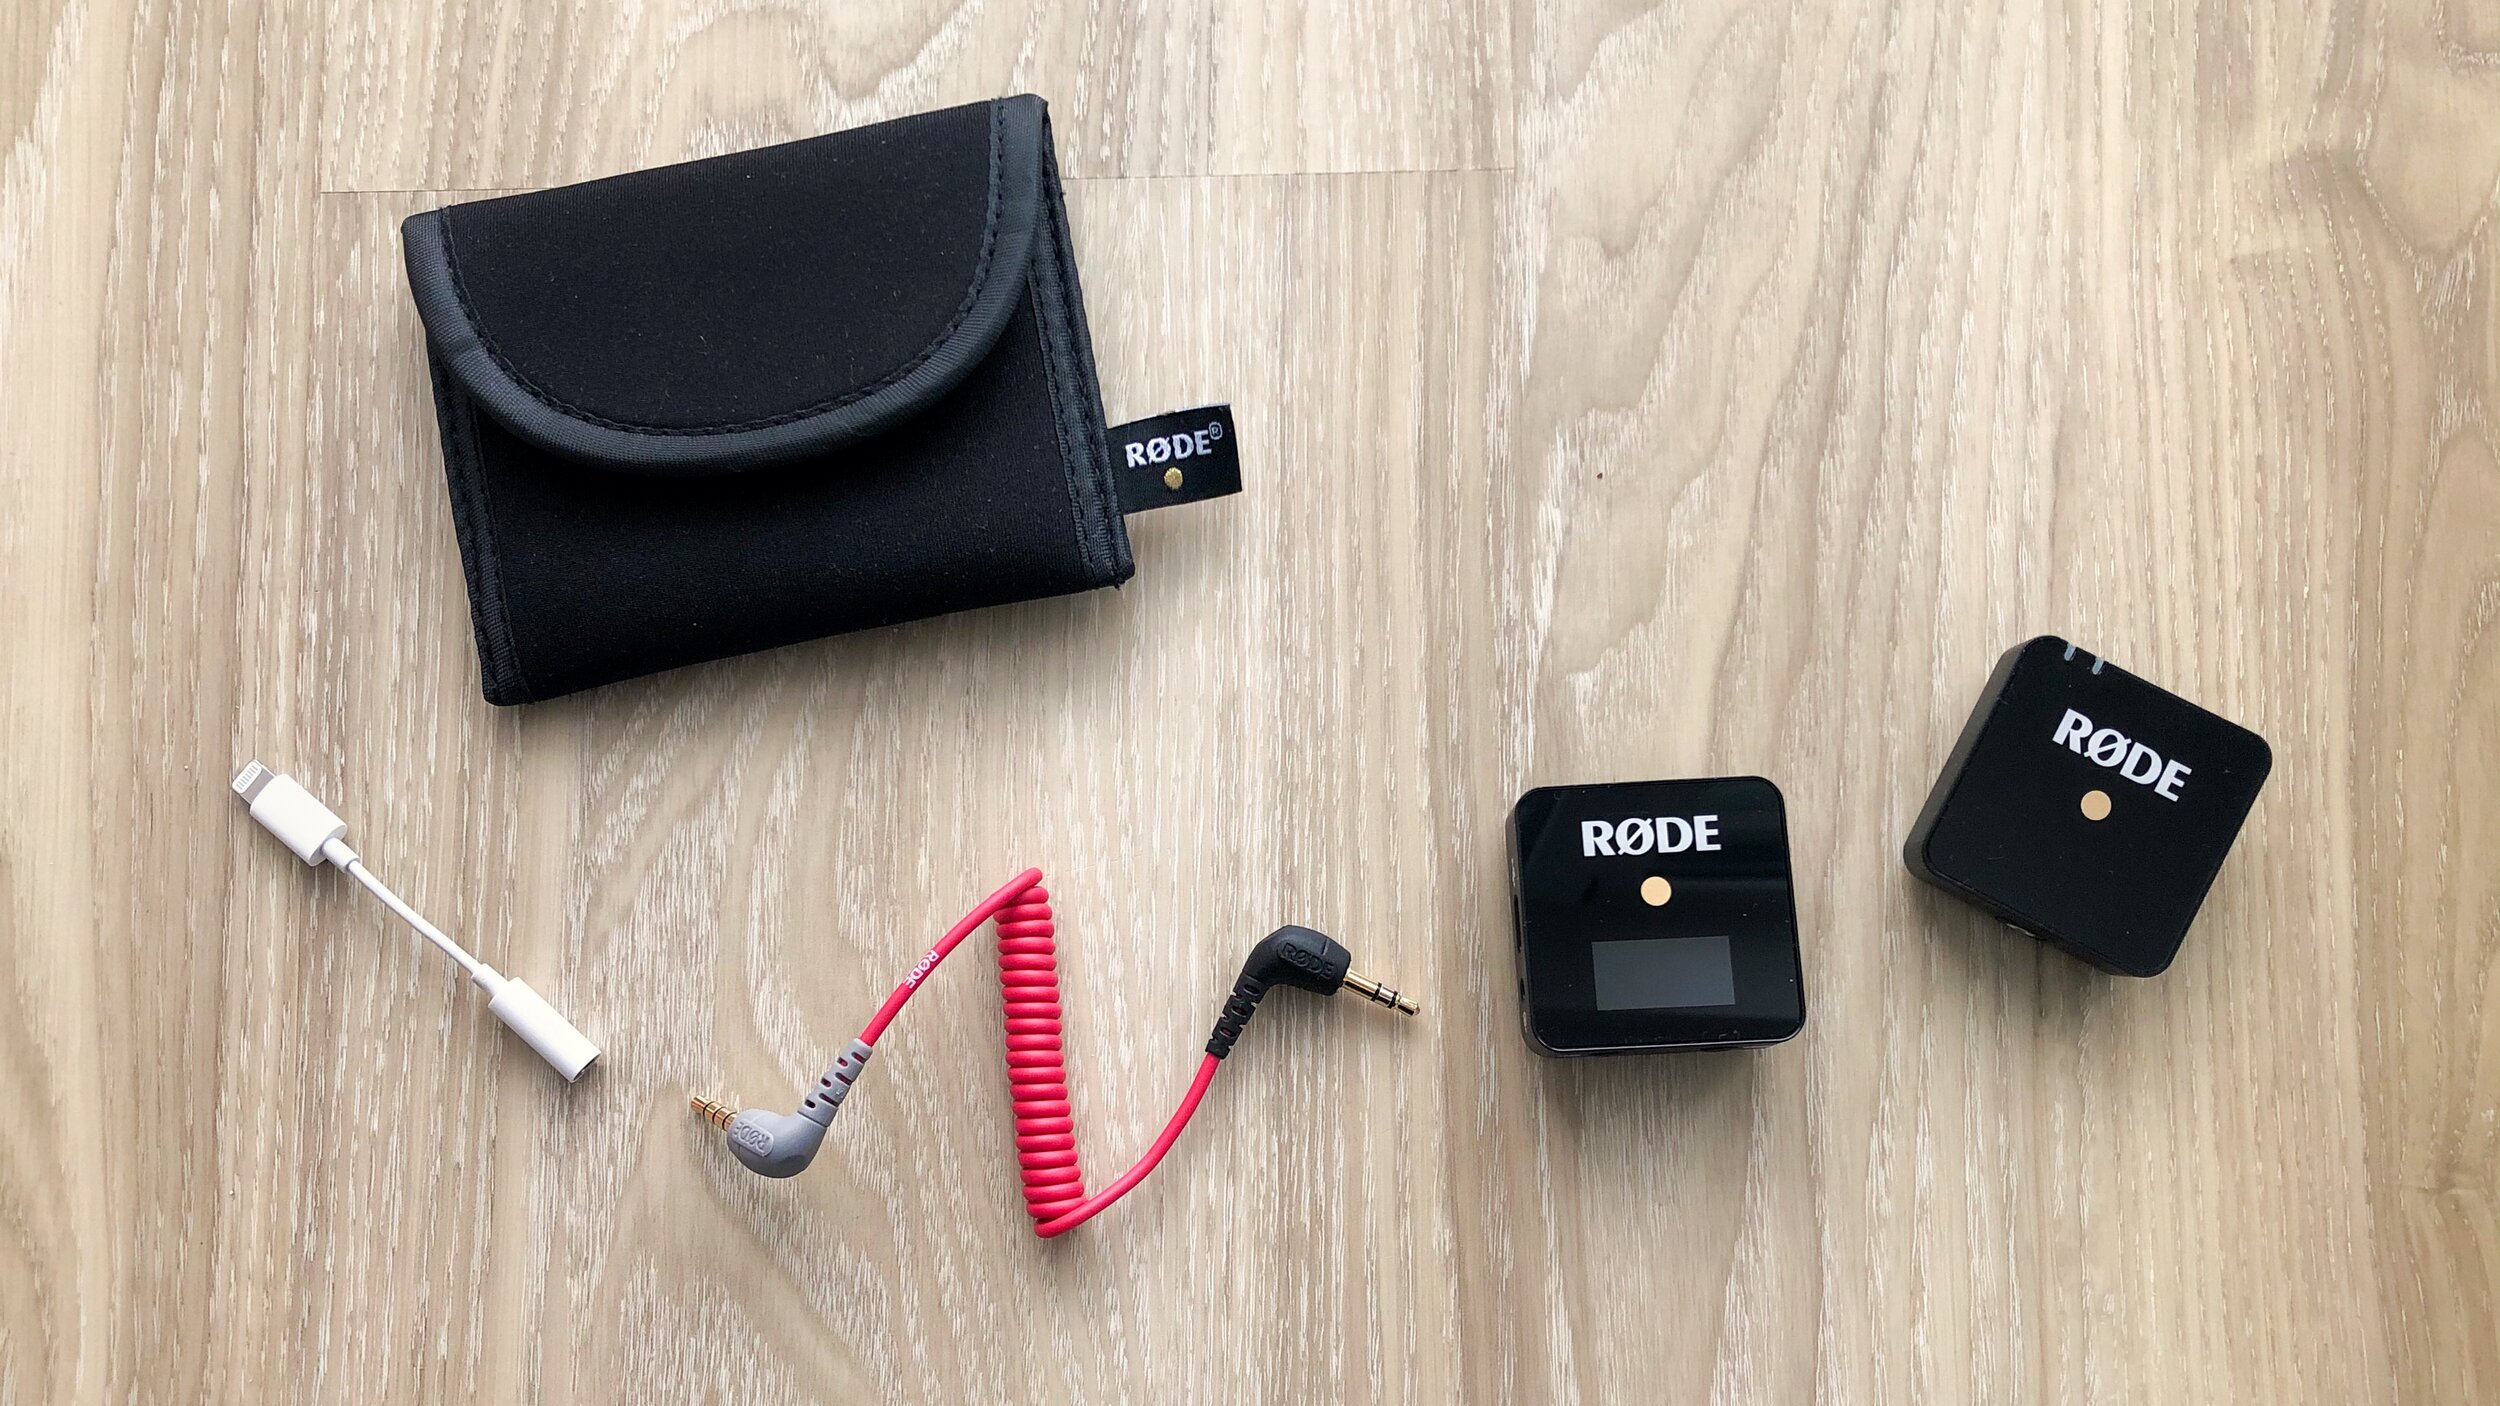
Rode Wireless Go setup, from left to right: Apple Lightning 3.5mm adaptor (if using with an iPhone), SC7 cable, receiver, transmitter. It also comes with a handy case to hold everything together.
My Pick: Rode Wireless Go
2. WHAT CAMERA IS BEST FOR TEACHING YOGA ONLINE?
The good news is you probably don't need to go out and buy a new camera because chances are you have a high quality one right in your hands in the form of your smartphone. Most smartphones now record in 4K quality, but if space is an issue, full HD (1080p) is perfectly fine. On most playing devices, the difference is hardly noticeable.
If you are teaching live classes using your laptop, the webcam on your computer should be sufficient. If you wanted to up your game here, you could get an external webcam with a better resolution.
Filming a class using a DSLR is not necessary. Yes the quality is amazing and you would be able to get nice depth-of-field shots, but you would have to weigh up the investment for yourself as they don't come cheap. Be aware also that there is often a limit of 10-30 minutes of recording time depending on the quality of video that you select, so you would need to stop and start a few times if you are filming a 60 minute class.
My Pick: your existing smartphone
3. TRIPOD FOR TEACHING YOGA ONLINE
Now that you have your audio and video set up, you need somewhere stable to put your camera. Invest in a tripod! This will make your life so much easier. They are fairly inexpensive and you will be able to easily adjust the height and angle of your camera. You can find many affordable options on Amazon. I have the K&F Concept S210 tripod. Do not go for the cheap tripods that look like selfie sticks. You will regret it! They do not extend up very high and are completely unstable. Your camera will fall over.
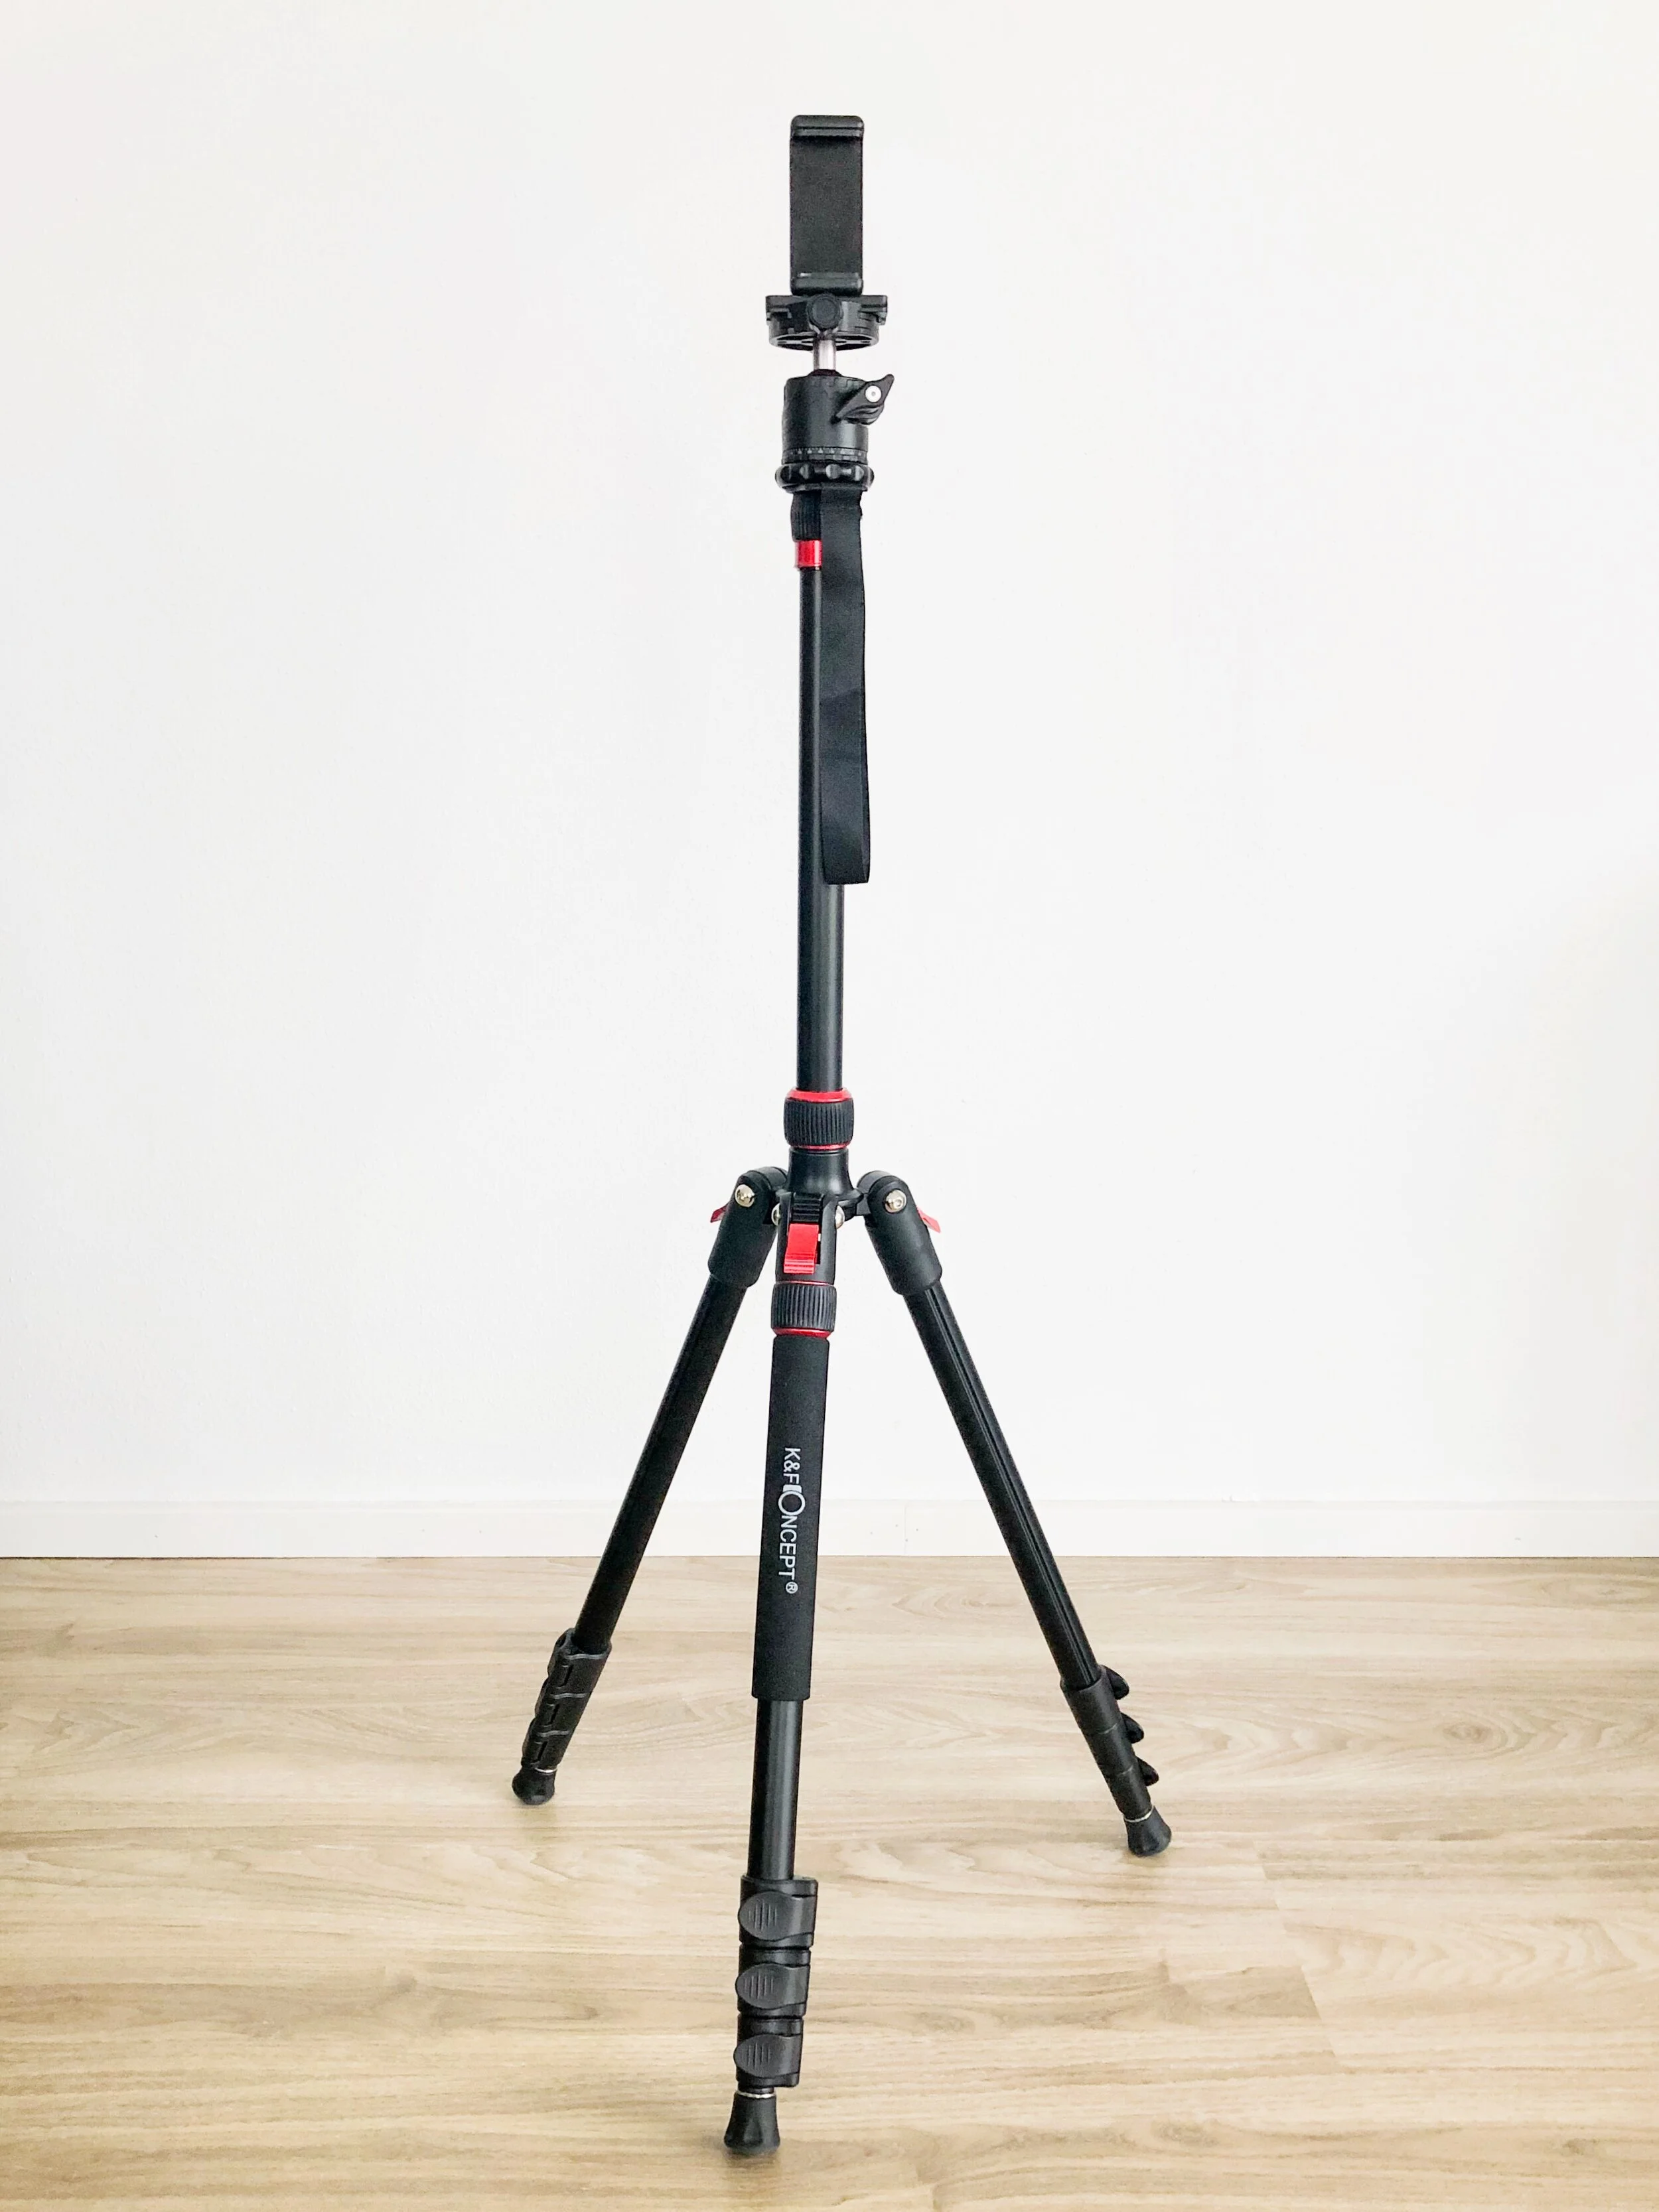
K&F Concept S210 Tripod with the mount for a smartphone on top.
Things to look out for
Some things to look out for when buying a tripod are:
Stability - get a tripod that is not super lightweight and where the legs can be extended fairly wide. The worst thing is when you accidentally knock over your tripod or when a gust of wind blows it over and your expensive camera goes crashing down along with it. Cheaper tripods can be quite lightweight making it more susceptible to falling over.
Phone Compatibility - if you are using the tripod with your smartphone, make sure it has, or that you get an adaptor, that can hold your smartphone. These are very cheap and they replace the usual screw mount on top of the tripod.
The Setup
I set up my tripod so that the camera is at the same height as the centre of my torso and parallel with my mat. I find this to be the best angle so it is neither looking up at my chin when I am standing nor looking down over me when I am low on the mat. You also want to make sure that there is space above and below your mat to allow room for you to reach up and still have your whole body in the frame.
My Pick: K&F Concept S210
4. WHAT LIGHTING DO I NEED TO TEACH YOGA ONLINE?
I put this off for so long because I didn't want to have two more things filling up our living room, but in the end I gave in, and realised I should have got them at the beginning! If you are filming in a location without much natural light (ie. no big windows), there's no question, get lights! Our living room has a lot of floor to ceiling windows which provide great natural light, which is why I put off buying lights for the longest time. But there are a lot of factors you need to take into consideration even when you have great natural light.
Weather - if it is a bright overcast day, it is the best filming scenario. If it is a very cloudy day and the sun is popping in and out, don't even try. This killed a lot of my videos. You will have one minute super bright, and the next super dark and there is no way you can edit this afterwards.
Winter time - it gets dark so early here in Germany, and sometimes during the day it is still not very bright. This is the perfect recipe for a grainy image.
The conclusion - invest in lights. Learn from my mistakes!
The Lights
I got the Geekoto Softbox Set on Amazon. It is very inexpensive for what it is. There are also other brands around this same price for basically the same thing (Essdi, Neewer). I would recommend to go with a set of softbox lights because they provide ample light and are diffused, meaning they won't create harsh shadows against your background. However, they are a little big and bulky and aren't exactly aesthetic. I leave them up all the time, but they are also quite easy to set up and pack away.
If you are thinking about LED panel lights, I wouldn't bother unless you are willing to fork out a few hundred dollars. Yes, they are lighter, smaller, dimmable, but the cheaper ones are very low quality, don't come with a stand, and likely cast a green tinge onto your whole video. The lighting is also more harsh so you need to find some way to diffuse the light.
The Setup
Usually softbox lights are placed quite close and diagonally in front of the subject, one on either side. For yoga, this doesn't necessarily work as you need to see the whole body and have the lights out of frame. Depending on your space, you can place them further away and see how that works for you. For me, when I had them pointing directly at me, it cast a double shadow behind me on the wall which was super distracting everytime I moved. After some experiment, the best for my space was to place the lights diagonally from my mat on either side and point them up towards the ceiling, using the white walls and ceiling as a reflector.
My Pick: Geekoto Softbox Set
Conclusion
So there you have my top picks for what tech equipment you need to teach yoga online. The number one piece of equipment I would invest in first would be a microphone. After that, a tripod, then lights, and lastly a camera (just because you probably don't need to buy one).
What equipment do you use? Are there any that you recommend that I did not mention? Leave a comment below. And feel free to ask any questions in the comments section as well.
*This blog post needs to be marked as advertising (Werbung). Why? Because I name a product or a brand, even if I bought it myself and was not commissioned to do so. This post was not sponsored and does not contain any affiliate links. I do not make any commission from any of the above mentioned links.